Northern Dynamic Datev Connector
If you need to send data to your tax advisor using the datev interface or if you need to import data from your tax advisor, this is the app for you.
Features
- Import to General Journals
- Export Customers, Vendors and G/L Accounts
- Map Cost Centers
- Normalize your G/L Accounts and or customer and vendor accounts to match the Datev restrictions
- Export PDF documents together with your entries
Installation
After installing the APP from the AppSource store, you can start with the initial setup by using the Assisted Setup. Find the scection Connect ith other systems and then select Northern Dynamic Datev Connector Setup. This will open a wizard which will ask you for the basic setup questions.

The interface uses the Data Exchange Definition Framework with custom settings and Codeunits to create the files in the needed format. The file might change over time as the interface evolves. At the time of the setup the current exchange definition can be downloaded by clicking the link in the wizard.
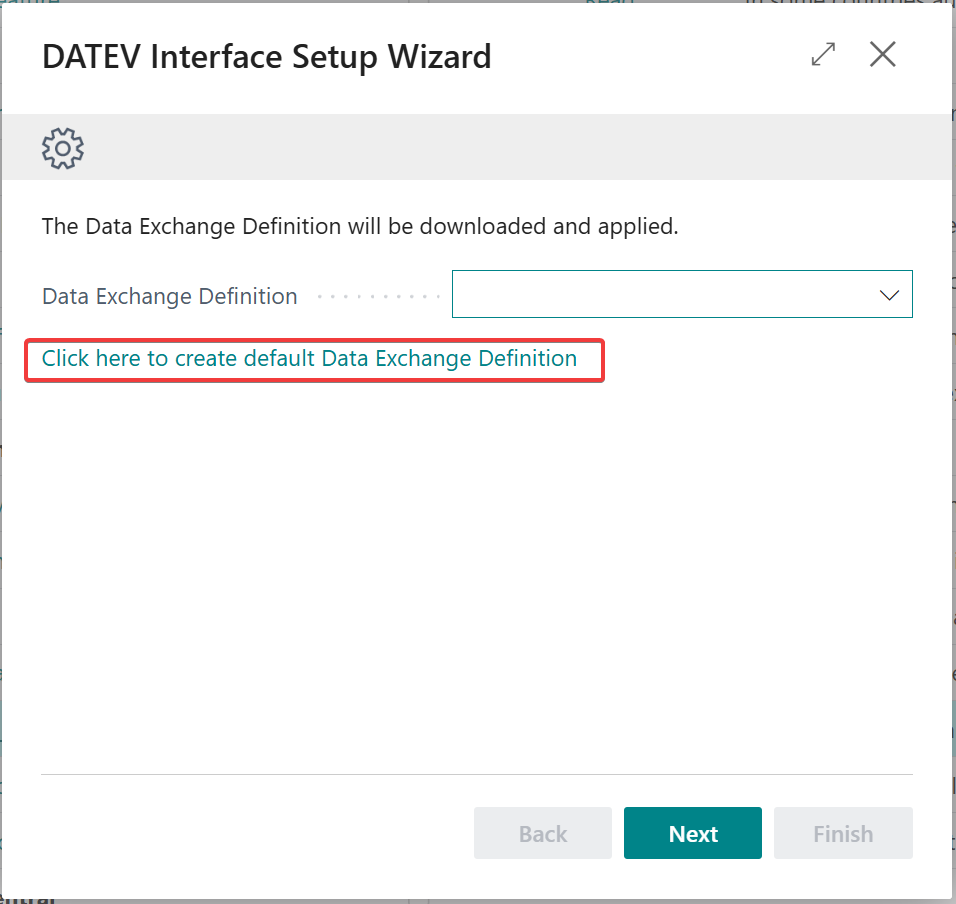
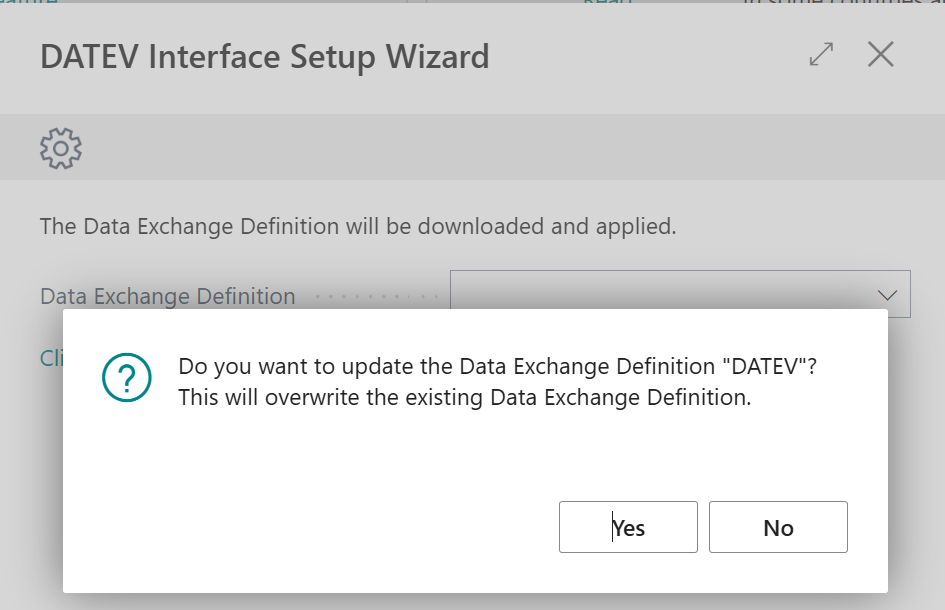
This will create a data exchange definition with the code "DATEV". An exisitng exchange definition with the same code will be overwritten.
After you have created this, the code will be suggested correctly.
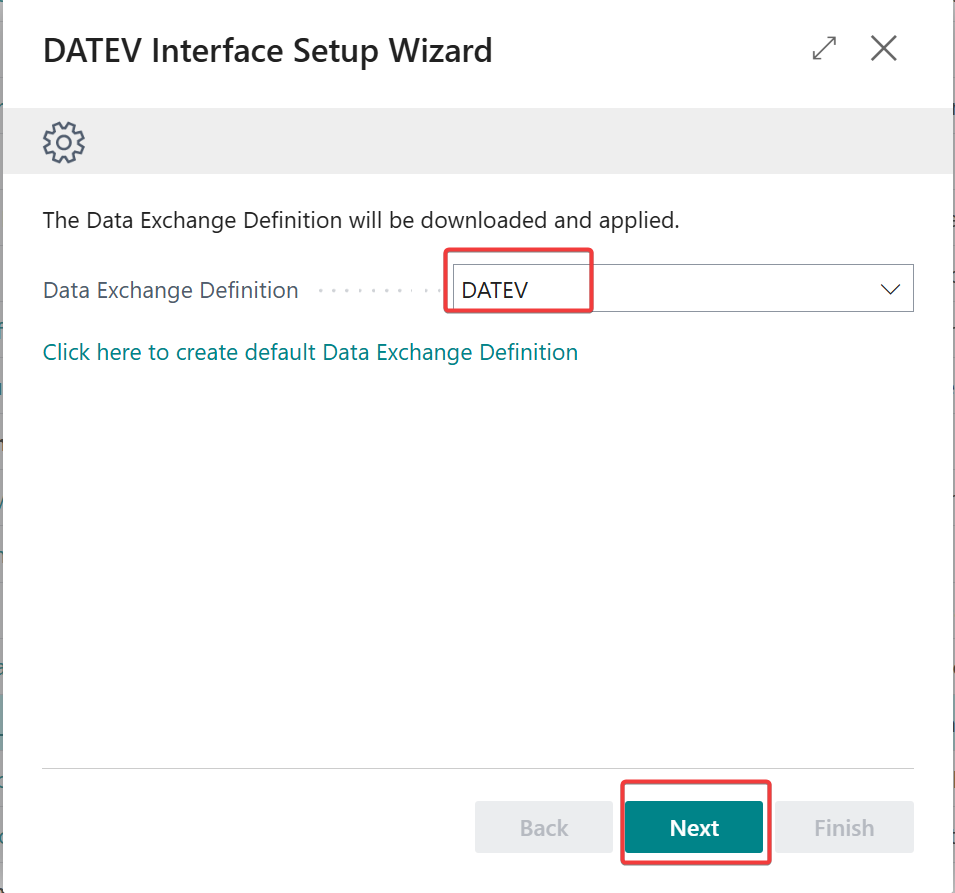
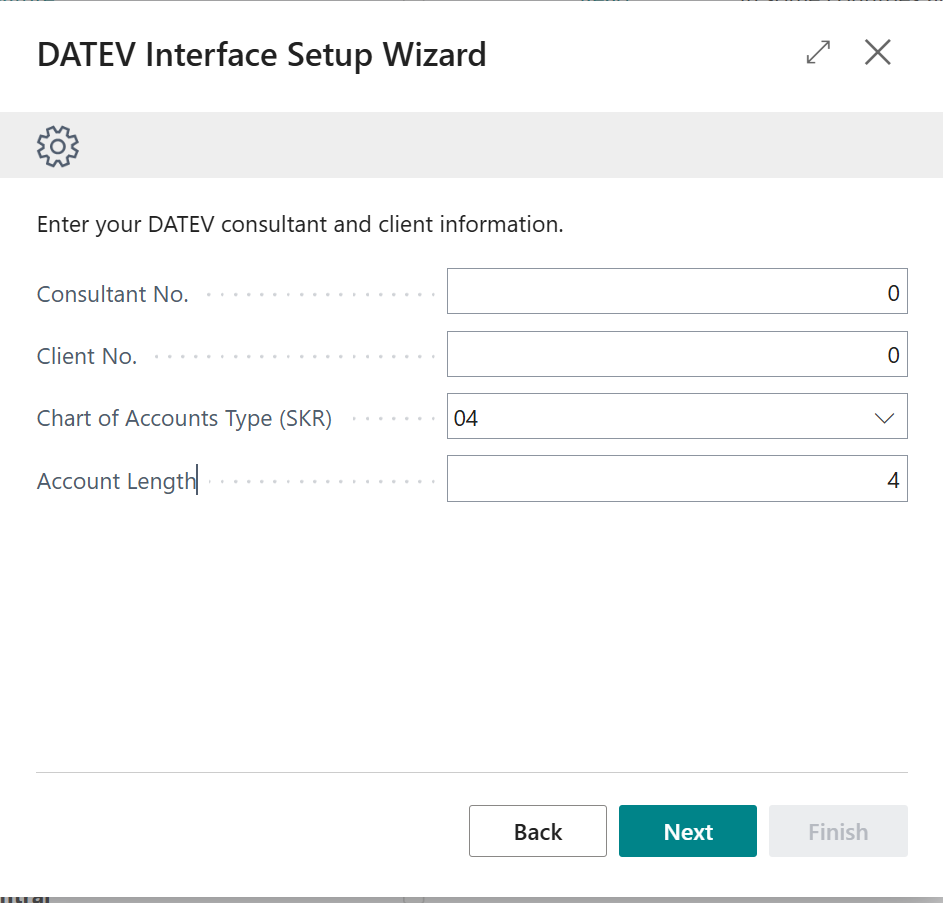
Click Next to continue with the setup. The Consultant No. is the number your Tax Consultant has with the DATEV organization. He should know. The Client No. is the number you have from your Tax Advisor.
Chart of Accounts Type (SKR) you can select either 03 or 04. And the Account Lengh is the lenght in digets for your G/L Accounts. For example if you have G/L accounts like 1000 or 2000 you would put in 4. If you have 10000 or 20000 you would put in 5. Note there are certain rules, when it comes to account numbers in the Datev universe. If you have 4 digits for your G/L accounts you must have 5 digits for your Customer and Vendor accounts. Also you Customer accounts should be in the range of 10000 to 69999 and your vendor accounts in the range of 70000..99999 if you have account numbers all over the place you cannot use them directly. But do not worry the interface give you some tools where you can mitigate the problem.
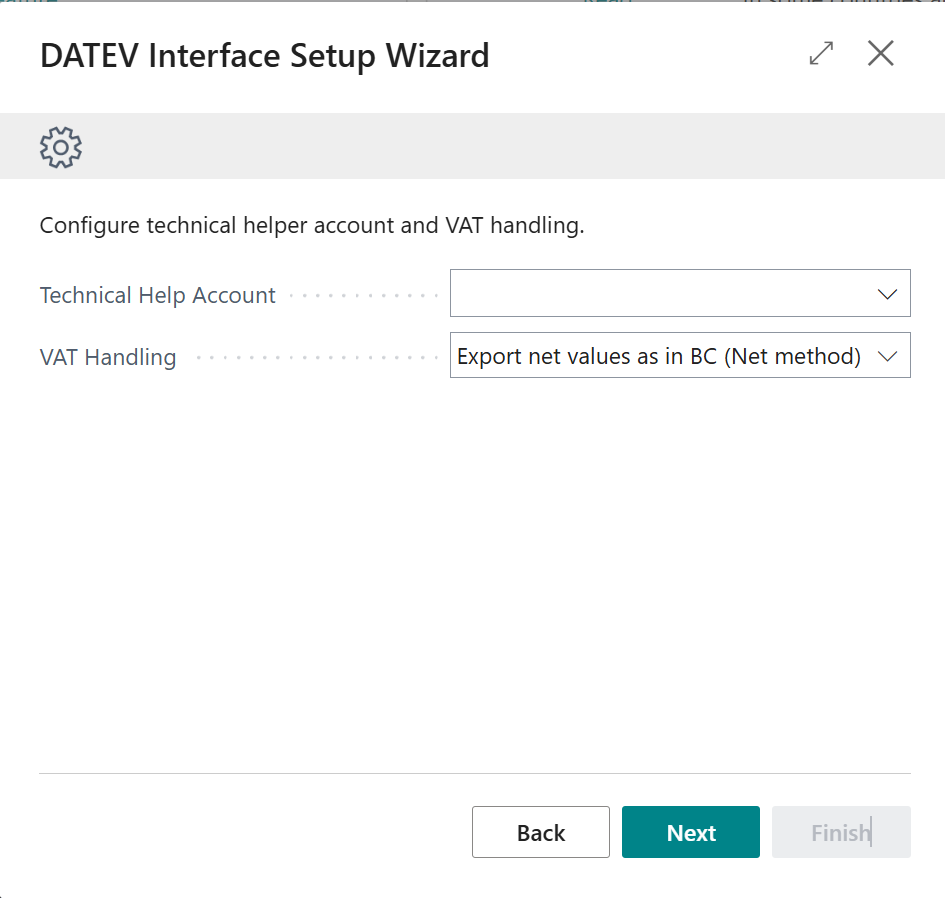
In the next page you have to provde a Techcical Helper Account This has to be the same length as you have selected in the previous step but it has not to be a real account in your Chart of Accounts. The DATEV Software is a bit picky when it comes to balance accounts and posting like you have in Business Central where you have just a number of accounts and some are with positive and some are with negative amounts is "frowned upon". For that we will put this account as a balance account for all lines, when we do have longer split postings. It should be an account which you do not use for example you can put 9999.
VAT Handling is another option you have. If you can talk your tax advisor to disable automatic accounts on his side. You can use the Net method which will export all values as they are posted in business central. If you have a posting with VAT for example an invoice, we will export Net amount, Gross amount and VAT. If your tax advisor wants to use the automatic accounts, you have to select the Gross method then business central will export the gross amounts and the tax advisor software will recalculate the VAT. This will happen based on Automatic accounts and Datev Posting Types which you then also have to setup. Using this method will extend the effort of setting up the interface.
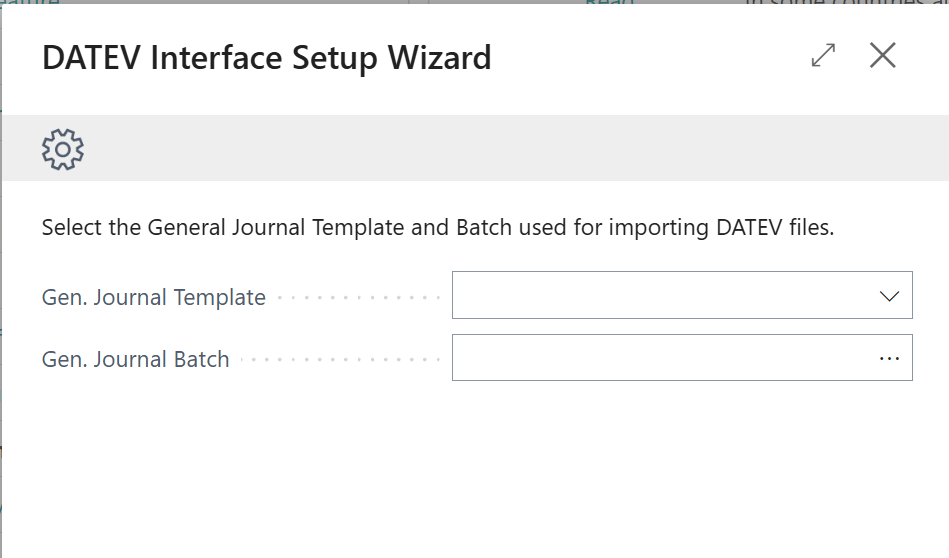
You can also Import files you get from your tax advsior in your Journals. In which journal they should go you setup here in the next step.
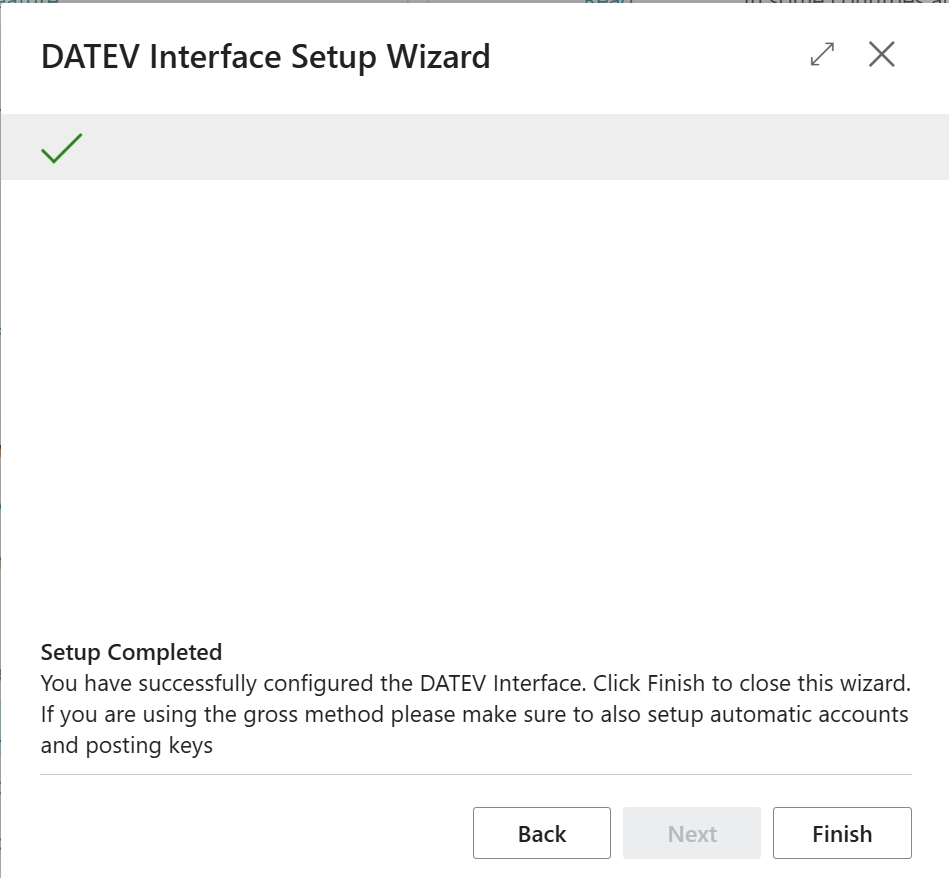
After that you arrive to the next step of the wizard, where you can active a purchased licsense. If you are just trying out the software, you can use it for 30 days. After that the export will stop to work and you need to purchase the app.

After that you are finished and can start using the interface.
Export Data
In the search bar look for Datev Export List to find the history of all exports you had so far. Click new, to create a new export.

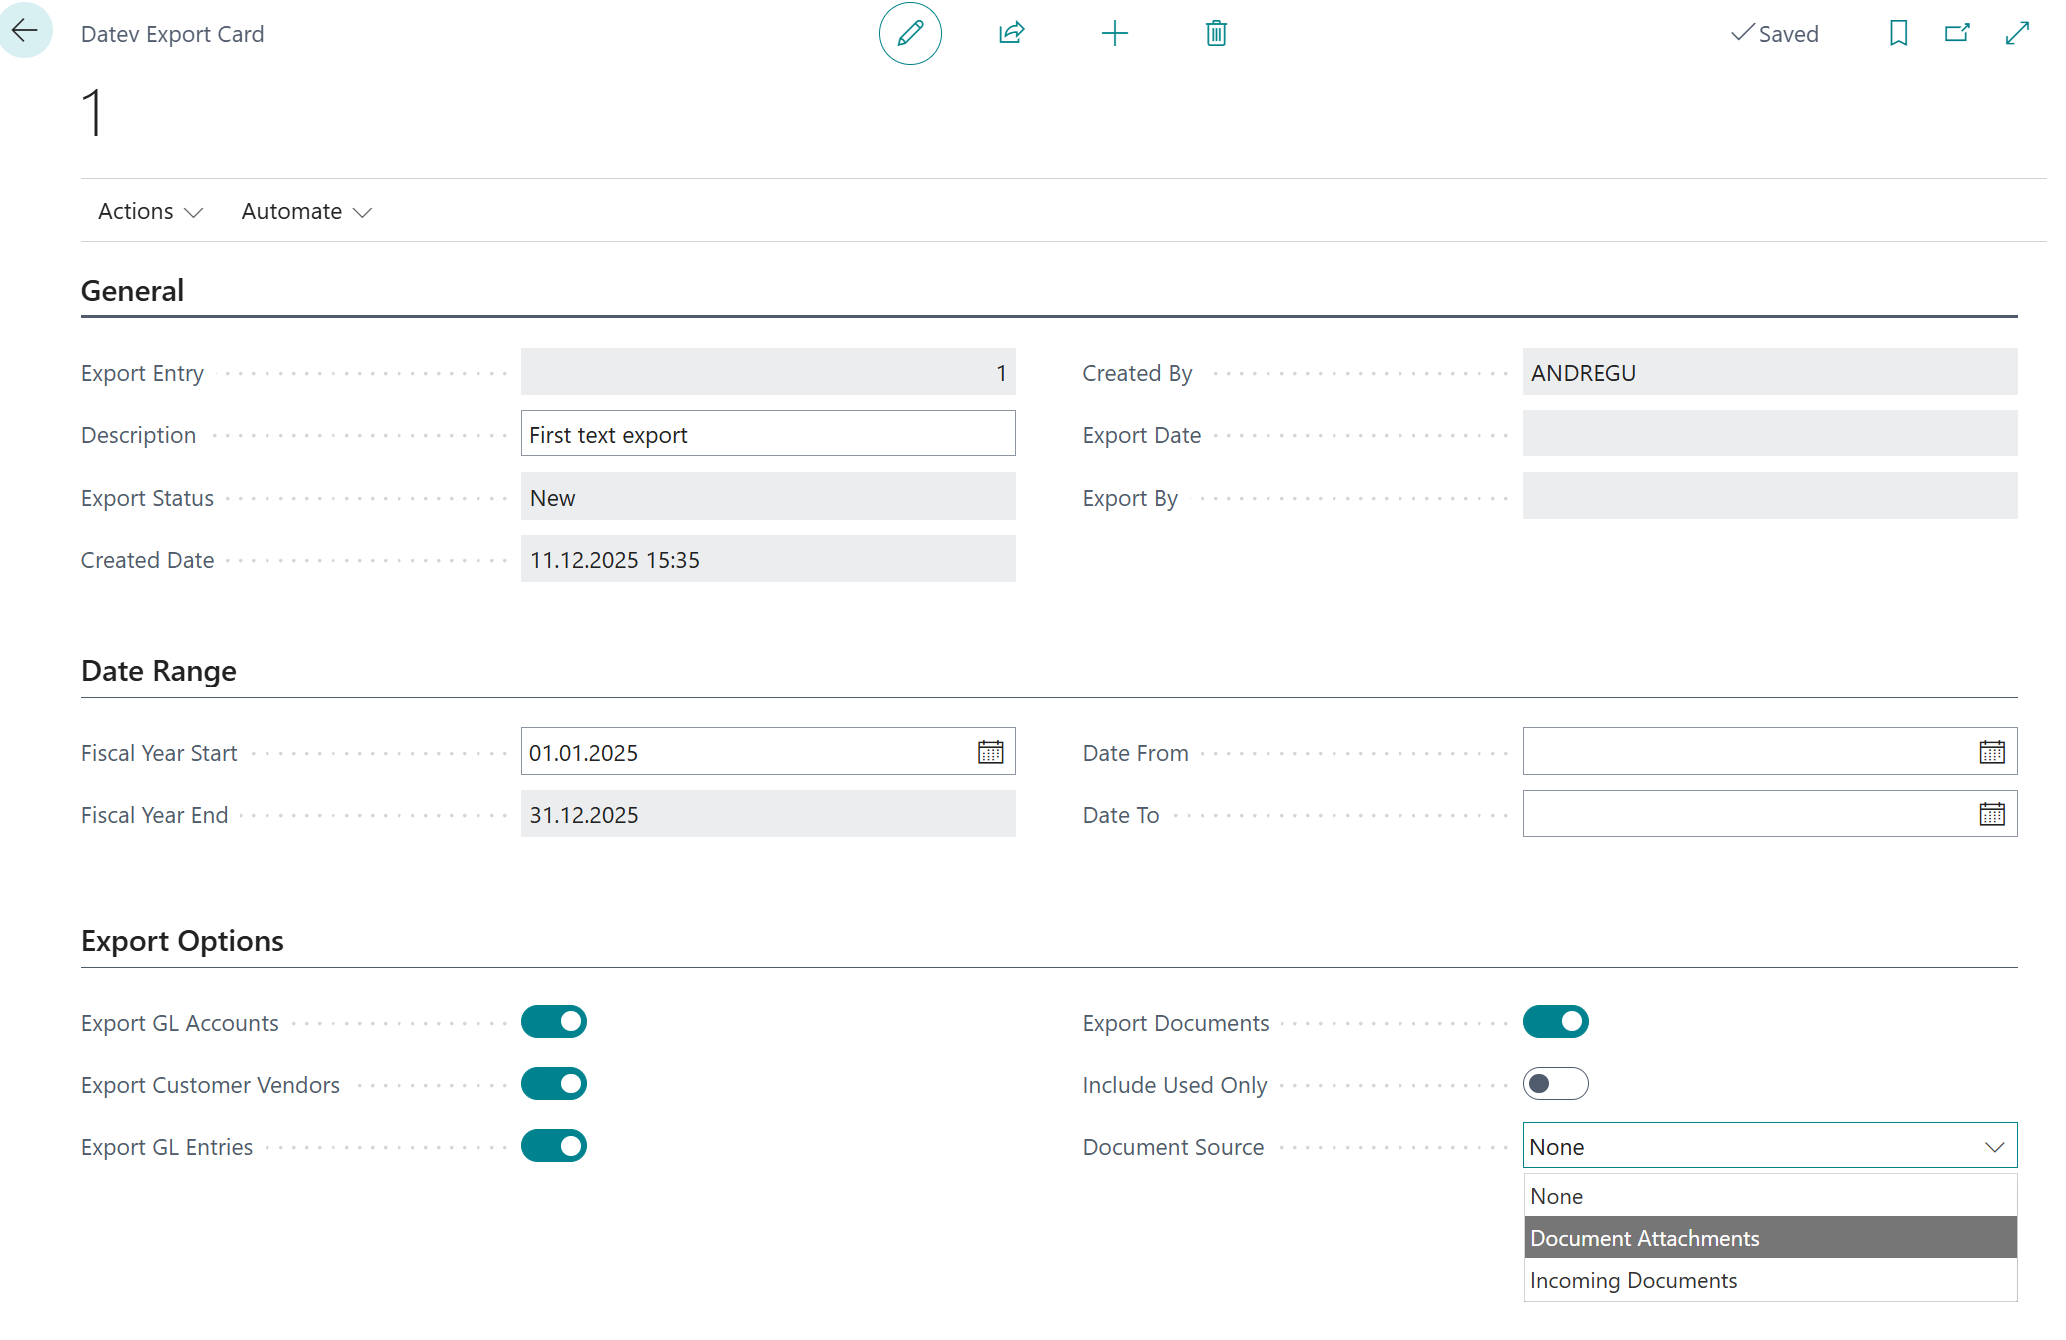
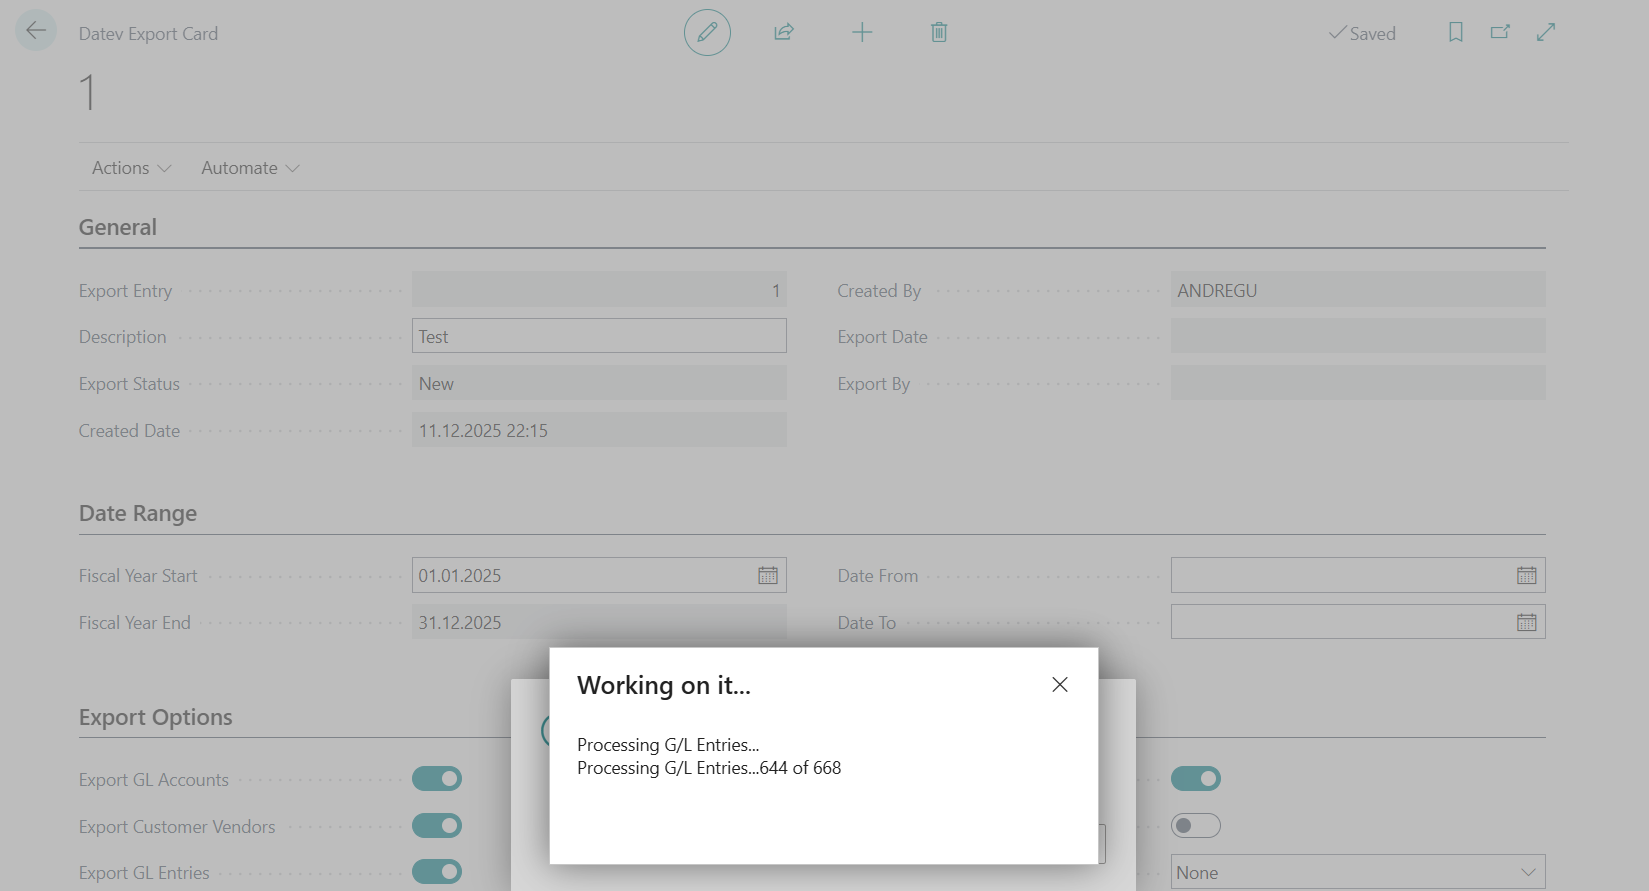
You will automatically get a new Export Entry number and can give a description for the export. That is only used internally. The Status will be set to New. You have to select the Fiscal Year Start and the system automatically will set the end. In the interface only one fiscal year can be exported at a time. You can select the Date From and Date To if you want to export only a portion of the data. If you leave the fields blank a fully fiscal year will be exported.
In the Export Options You choose what to export. There is a file for the G/L Accounts and another file for Customer and Vendor master data. The Export G/L Entries is where the entries will go - which usually makes up the biggest portion of the export.
With Export Documents you can also export PDF files of your invoices if you have stored them in the database. If you select this field you also should select Document Source that will be where the system looks for documents. Two interfaces are there out of the box. One is the Document Attachments and the other is the Incoming Documents. If you have a different system, you can talk to your partner. It is possible to create an interface for other doucment management systems as extension and then you can select that also. If you select documents, you will get more files in the export. A zip file containing all the PDFs with a unique name and and XML file having the links to the file which then again are references in the Entries export. In other words if you tax advisor imports the files with documents he has full insights in your entries and no need of exchanging folders anymore.
If you have a lot of documents stored, you can consider exporting month by month to keep the filesize smaller.
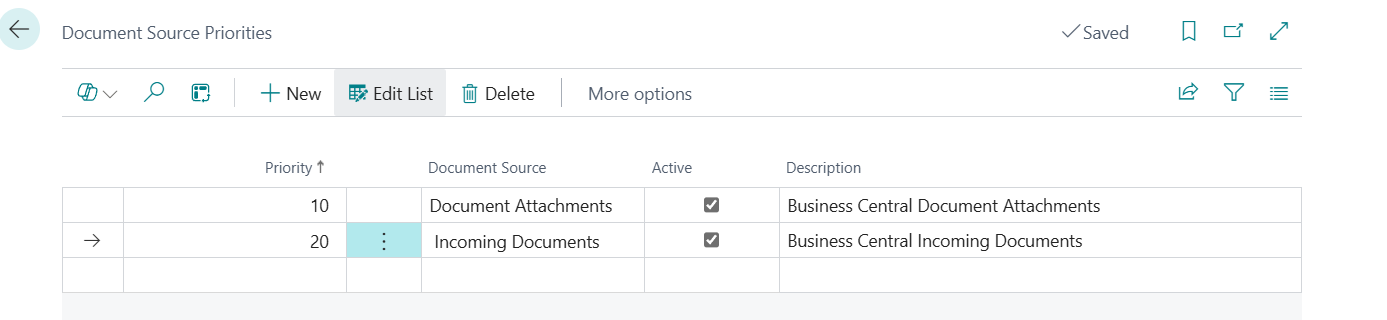
If you have documents stored with multiple interfaces you can setup a Document Source Priority. You can reach that page from the Datev Setup. If you are storing documents with another addon like Continia Document capture or similar, you will need to install your own interface. If that is the case, get in tough with us on how to implement those.
If you have selected all your options go to Actions and Start Export and then answer Yes. If you have no valid license or it is expired, you will get an error message at that point in time.

You can check Northern Dynamic Licensing to see how to activate the license after purchase.
If you have a valid Test or Production license. Your G/L Entries will be preprocessed to match the format.
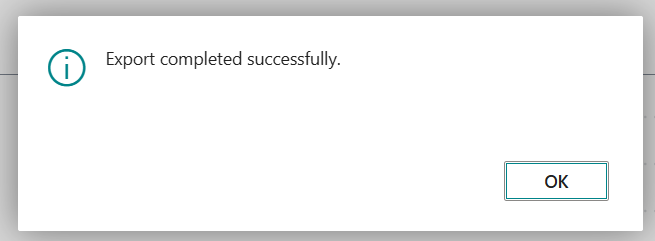
If everything worked fine, you will see a confirmation message.
If you use Actions and View Entries you can view the table where the export was prepared.
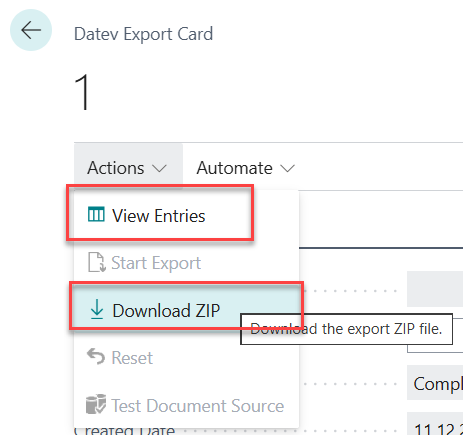
With Actions and Download ZIP you get the file you can send to your Tax Advisor. If you have selected to export also Documents you will also have a zip file within that zip file containing all the documents. NOTE if you have multiple documents attached to a posting only the first document will be exported. This is a limit in the capabilities of the interface.
Import Data
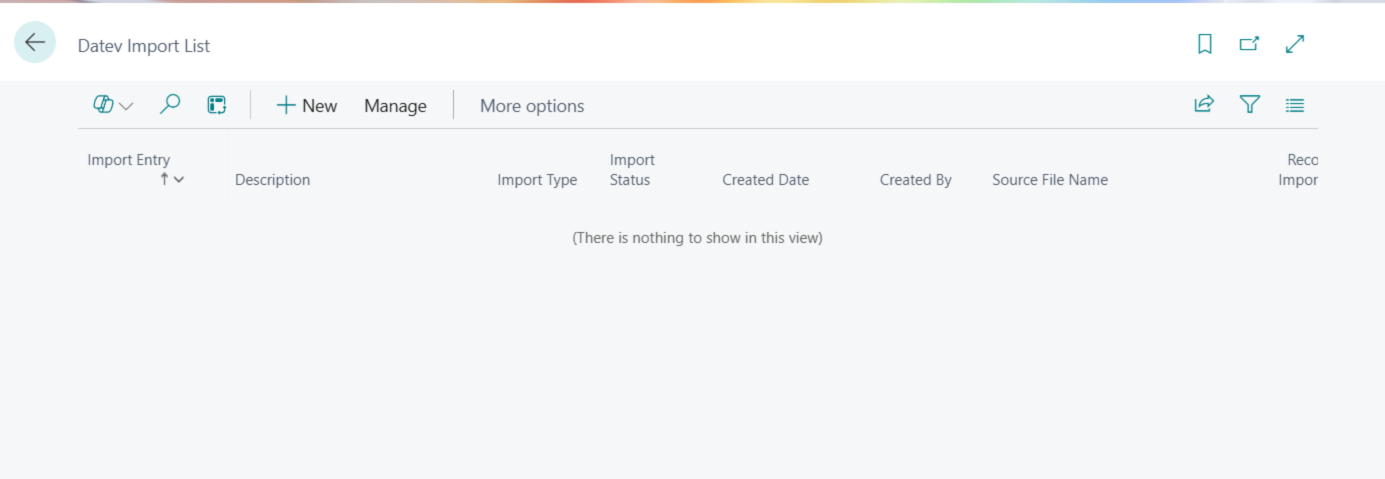
In the search bar look for Datev Import List and click on New.
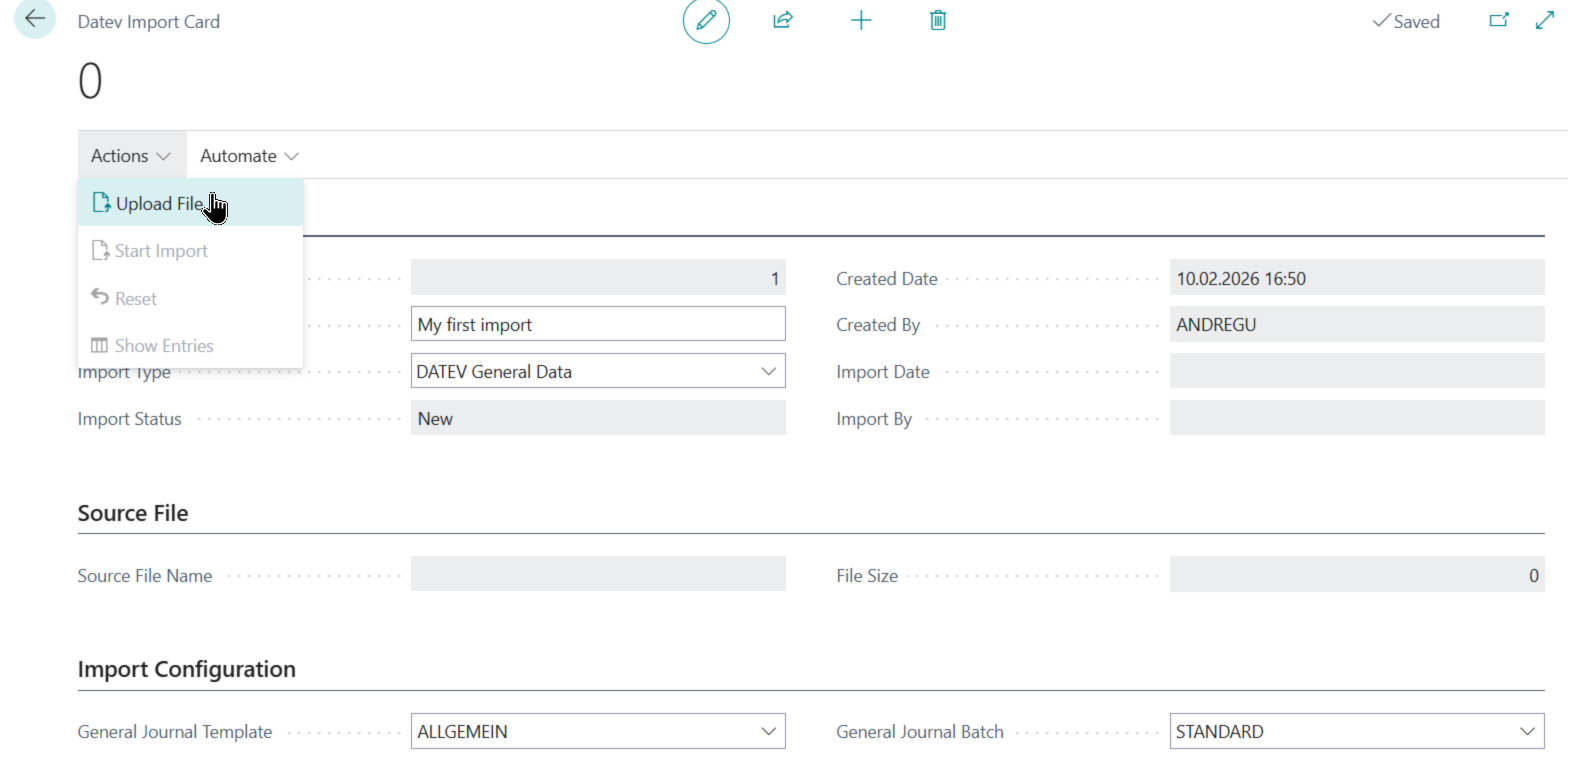
The handling is similar to the Export. You select an Import Type. The DATEV General Data is currently the only one supported. You select Actions and Upload File and after that you can use Start Import to get the entries in the Import Configuration selected General Journal.
Mapping possibilities
There are a number of possibilities to change the data you export to match what you tax advisor is expecting.
Dimension mapping or Cost Center mapping
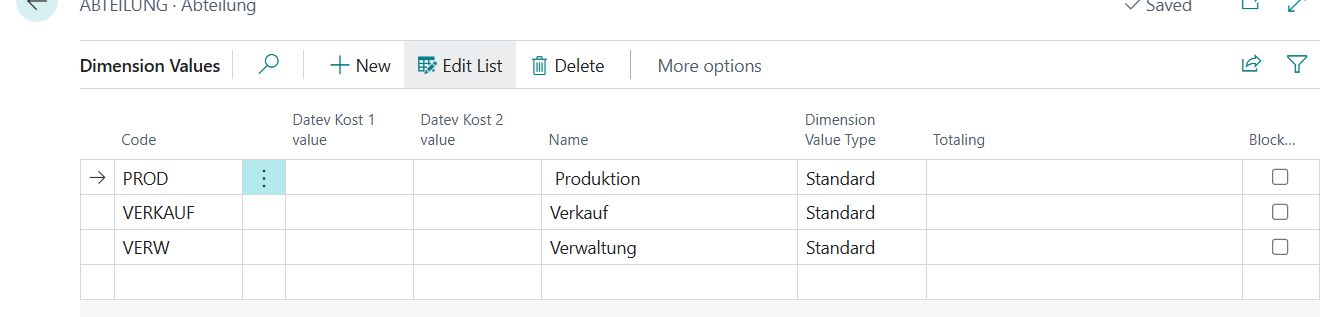
In the Datev Interface there are two fields available called "KOST 1" and "KOST 2". You have the possibility to map those values to your used Dimensions. You have to map all the individual values and you are not restricted to use only two dimensions to map. If you open Dimension Values for any dimension. There are two new fields. "Datev Kost 1 value" and "Datev Kost 2 value" you can fill either of those values per each dimension value and the data will be prepared and exported or imported accordingly.
G/L Account mapping
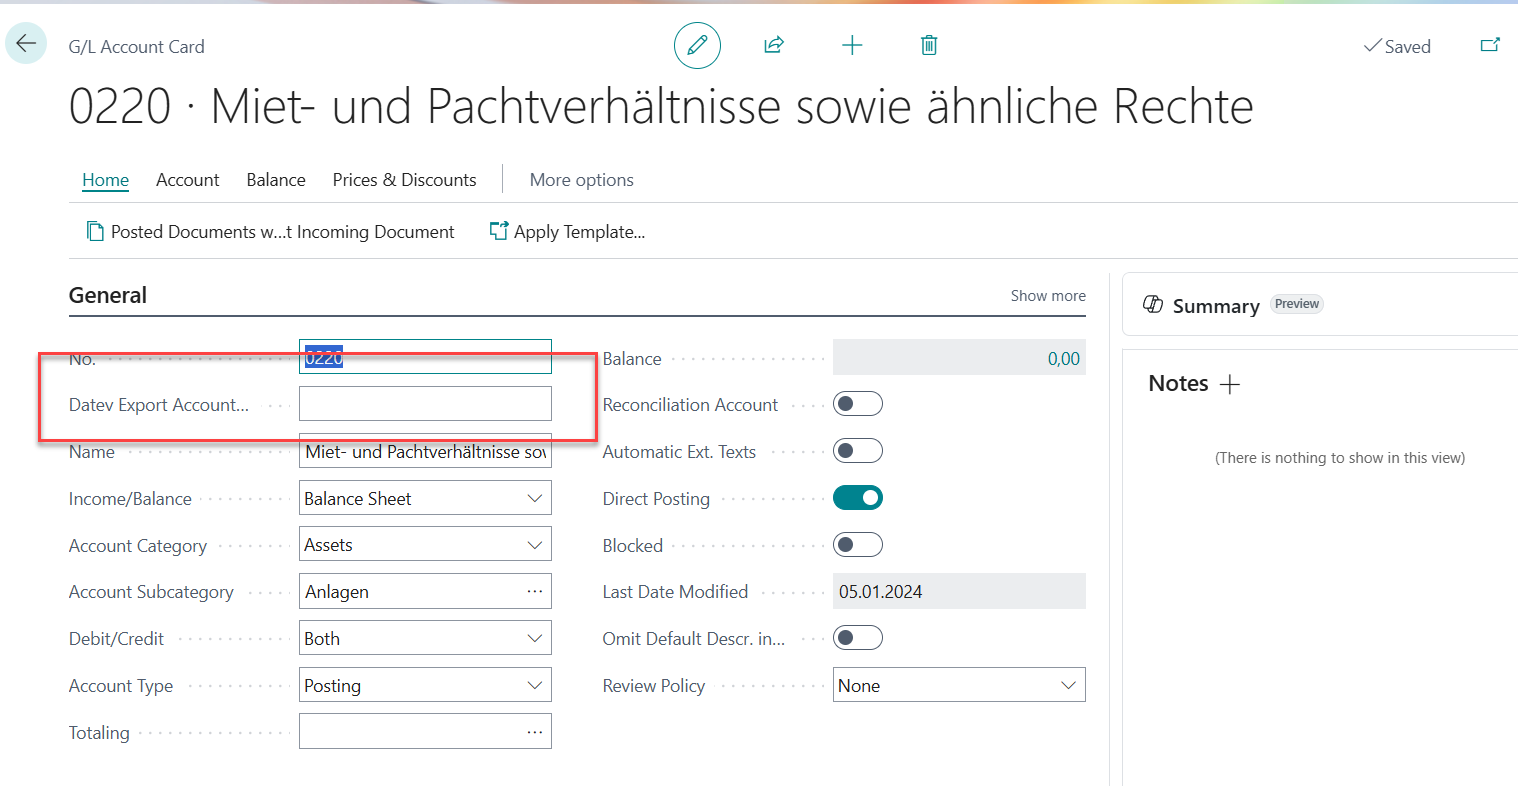
If you are not using a standard lenghth or you have accounts which you want to send to your tax consultant in a different way or a different chart of accounts there is a possibility to setup an alternative Datev Export Account number. If that field is blank, the original account number will be used. You will need to use this for example if you have account number length which are not equal. If you have some 4 digit and some 5 digit G/L accounts for example, you need to decide which lenght to export. The length needs to be according to the length setup in the Datev Setup page.
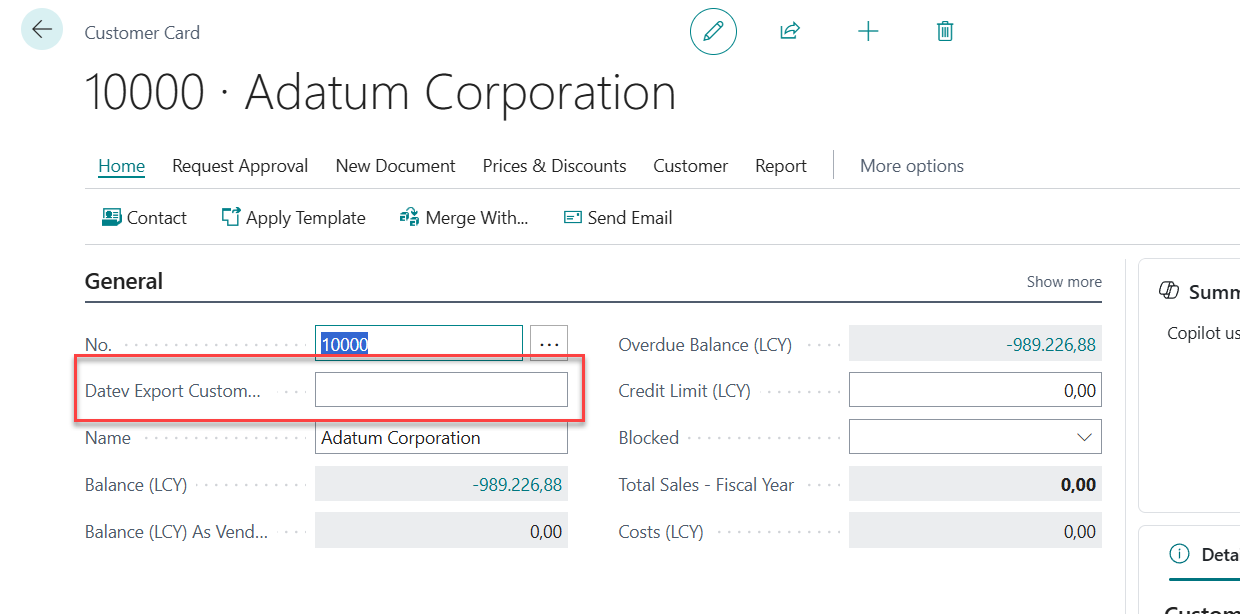
Customer and Vendor mapping
Similar to the G/L Account you have an alternative number available for you customers and vendors. Note there are special requirements for your number range by the tax advisor software, that is why you might want to use this before the export. As with the G/L Account mappping you only need to do this, if you are not within the restriction of the Datev account number range.
Helper functions for "mass mapping"
If you open the Datev Setup page:
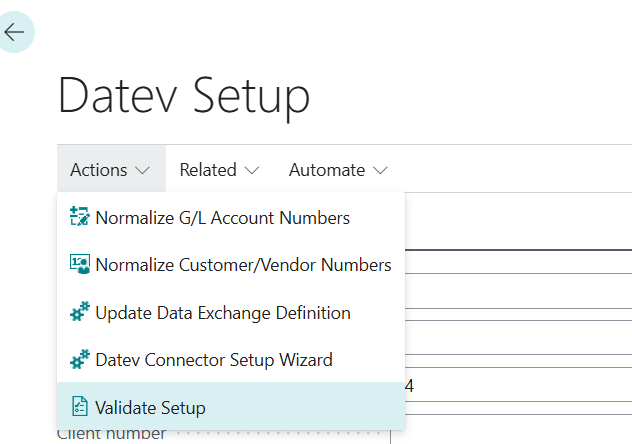
You have two options available to adjust your account numbers automatically.
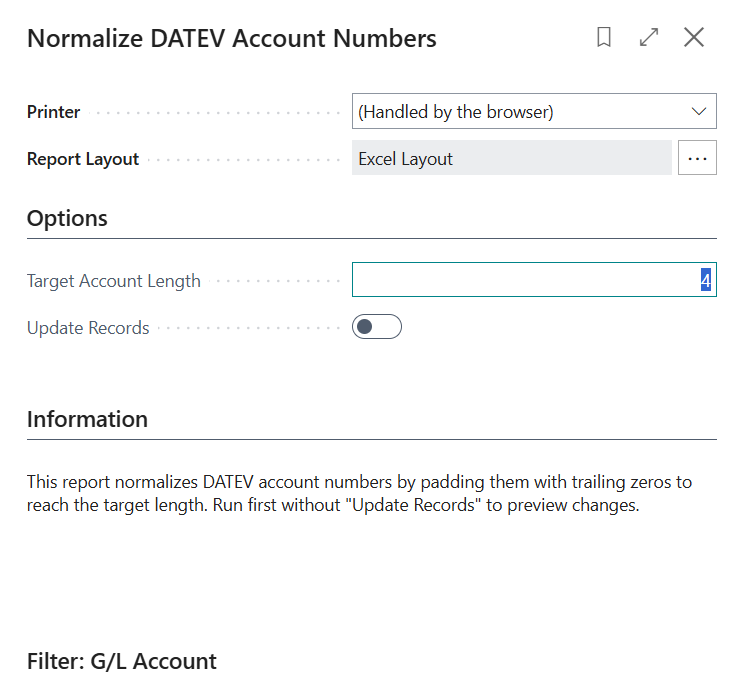
Normalize DATEV Account Numbers can be used if you for example have 4 digit G/L account numbers and some 5 digit G/L Account numbers. Then you can select that you want to use 5 digits for all your account numbers. If the Update Records check is unchecked nothing will happen and you will get a preview. If you check it the G/L Account mapping will be done for you.
For the customers and vendors you can use the Normalize DATEV Customer/Vendor Numbers batch.
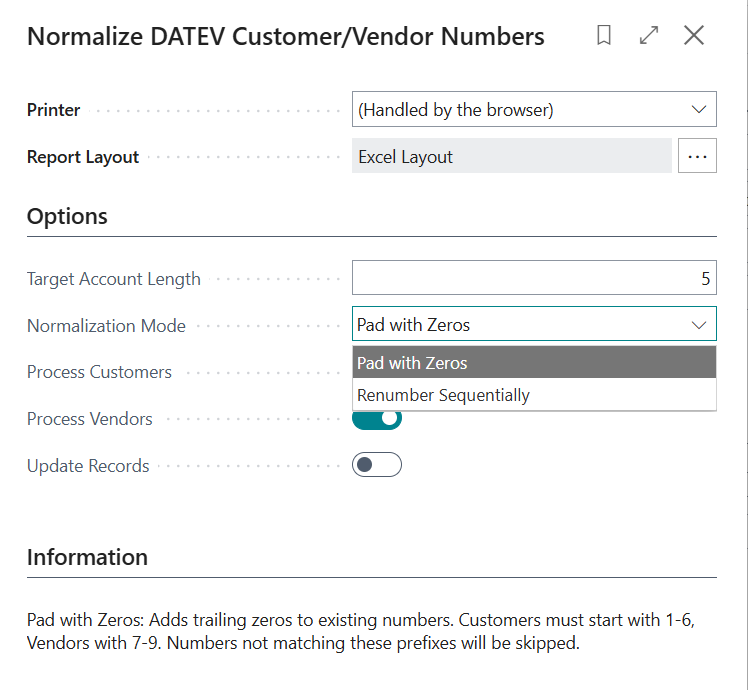
Note the length of customer and vendor numbers need to be the length of G/L account numbers + 1. There you have two options - if you account numbers are just too short, you can use Pad with zero to fill up the length with zeroes or you start renumbering them from the start again. If you choose that option customers will be renumbers starting 10000 and vendors starting 70000. The new numbers will be filled in the Datev Account number fields in the customers and vendors. Also here you have the option to preview by unchecking the Update Record values.
Net method and Gross method again
jThe net method will just export all entries as they are in business central without any posting key for Datev nor checking for automatic accounts. This might be the more easy setup but it will also not give your tax advisor the possibility to do your VAT reportintg for example. The gross method will need some more setup and will export values including VAT. For automatic accounts there will be no Datev Posting type exported and for all other accounts with VAT a posting key will be exported. To be able to handle all this Business Central needs to know your Automatic Accounts, the VAT Accounts and how the VAT Accounts are mapped to the DATEV posting keys.
Automatic accounts

These are accounts where Datev assumes a specific VAT rate. These could be revenue accounts for example. You should ask your tax advisor what accounts in your specific chart of accounts are automatic accounts. Then you can go to the Datev Setup page / Related and open the Automatic G/L List. You can fill them in manually for you can use the Import from chart of Accounts option to select specific accounts from your chart of account. Or if you are using the SKR04 chart of account you can use the Setup Default Automatic Accounts SKR04 function which will give you a list of the most common SKR04 accounts.
We strongly recommend checking the list of accounts with your tax advisor
VAT G/L Accounts
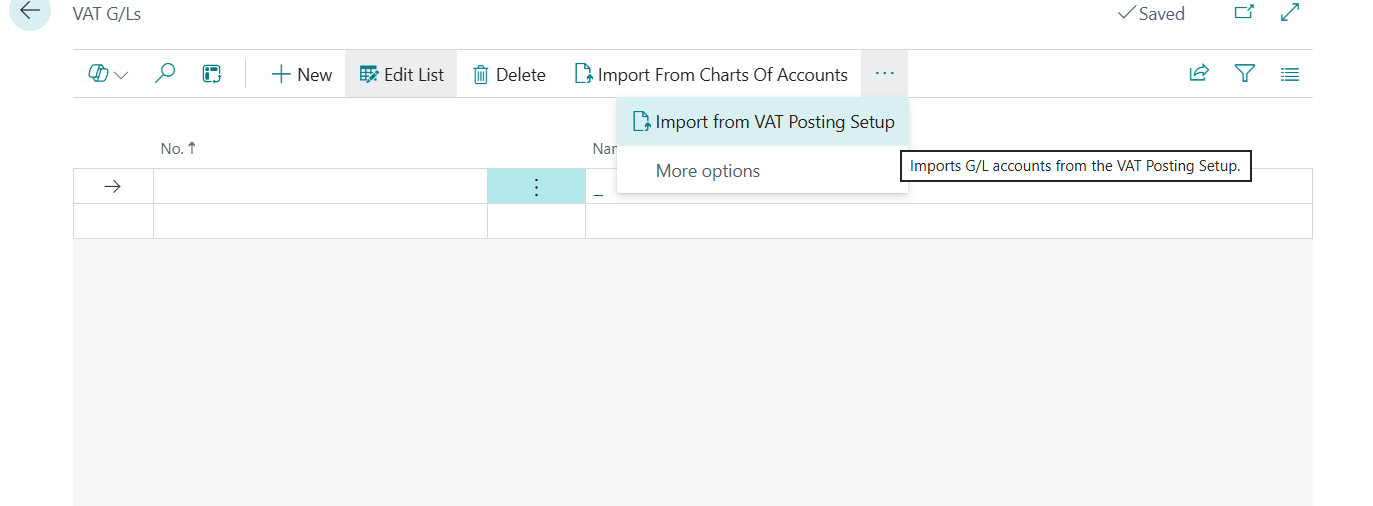
This table is also available from the Datev Setup and the related menu item. Here you fill in those accounts where your VAT gets posted to. You have those accounts in the VAT Posting setup, that is why you can also use the function to have them suggested from the VAT Posting Setup. You can also select some from the chart of account as well as manually enter those.
Datev Posting Keys
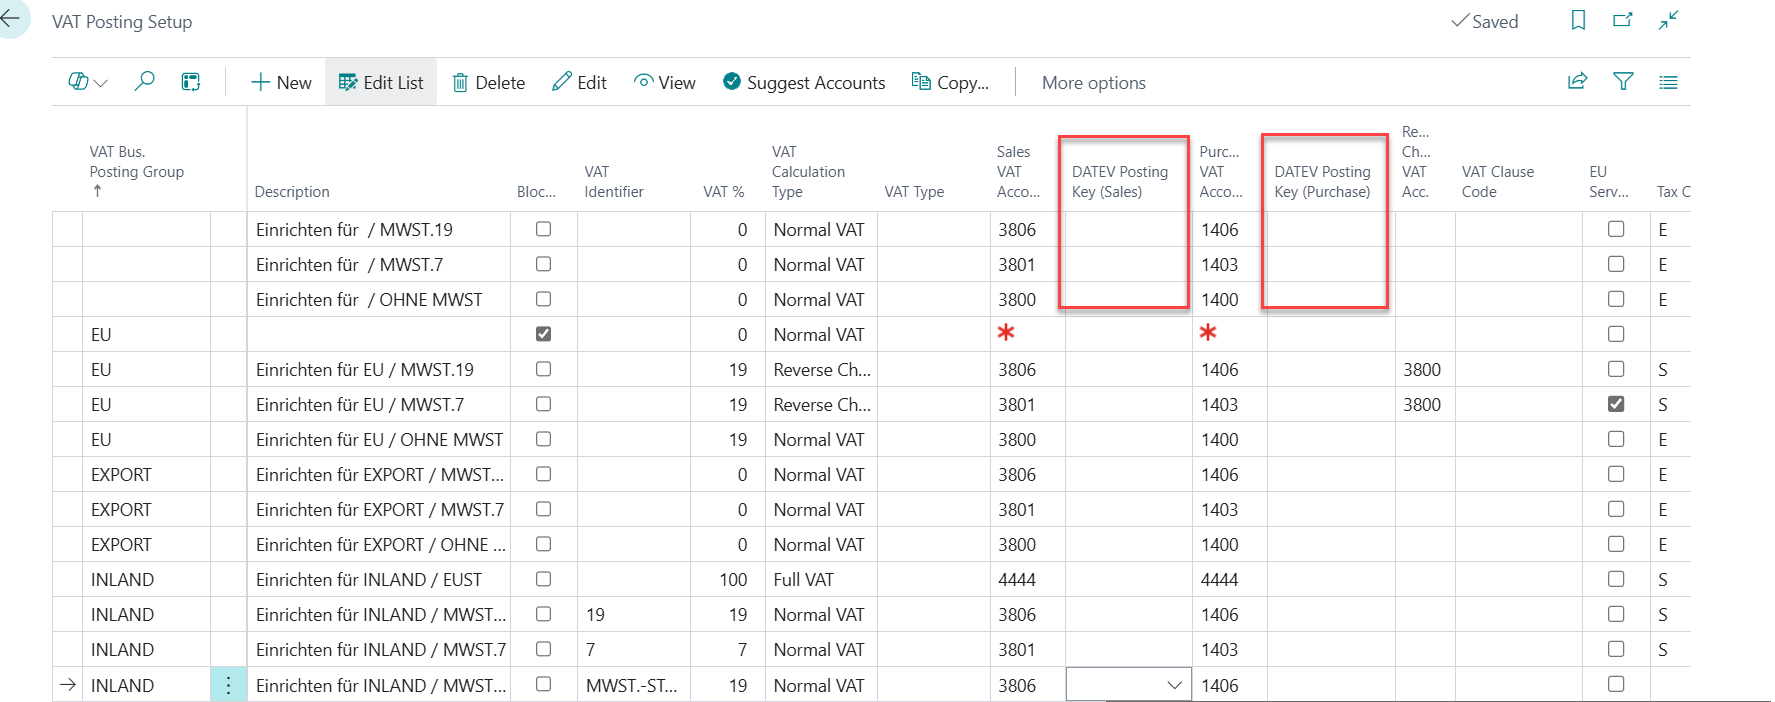
In the VAT Posting Setup you have to find all those lines where you are referring to the VAT accounts you have setup in the previous table. Then you have to add a posting key on the Sales. Your Datev Posting Key table will be empty if you first open it. But you do have the option to fill in some of the most common ones.
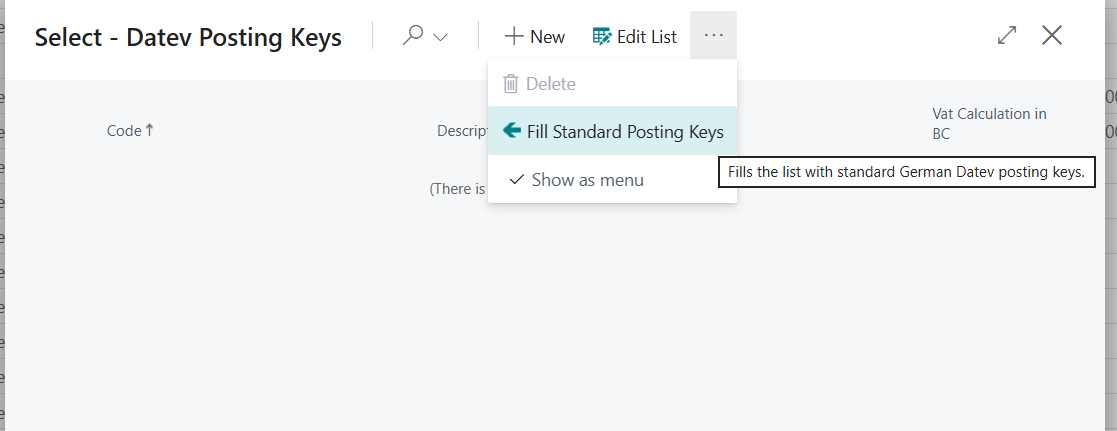
As there are a lot of posting keys exisitng, you might want to discuss with your tax consultant if there is a special need for specific business scenarios